Wednesday, June 1, 2011

WOYWW #104! Happy Anniversary!


Congratulations Julia and the Stamping Ground for 2 years of inspiring us to share our work desks! Can you believe we do this? While many times its with excitement on a successful project or new toys, many times it's with shame--"maybe if I show the world, I'll be mortified enough to get organized". Notice I didn't say clean-I can't work in clean, but organized, in my own stacking way, absolutely! LOL! So, I can't show my actual work cubby, I just didn't have time to hide my PiF project and, errr, creative miscasts. So, instead I am showing my 2nd desk, which is where friends can play, and things get organized, and holy crap! What a mess!! This is stacking beyond even my "depth of finding" ability! The red box is a small sewing box from Harbor Freight-$15, that holds quite a bit of my Tim Holtz stash. Not the ones with lots of little pieces, like brads, rings and such. Those are kept in the open drawer next to it. And for some reason, a ton of cards are out on the left side (I make doubles sometimes) must have needed an idea. And most of my Compendium of Curiosities projects are stacked on the right side--an idea from two of those made into my PiF. OK, next rainy day---this will get put to rights (or before my Brother comes over to hang that white cabinet on the wall; my drywall thing-eys went right through the wall, so not going to work! And DH isn't helping) So, hop over to the Stamping ground, wish Julia her congrats on running this wonderful weekly event, and show your own creative space! Have a great week everyone!

Tuesday, May 31, 2011

Grungy Monday #9


Good morning everyone. I hope you all had a great Holiday Weekend. Despite my plan to get much time in the craft room; I only got 3 hours in! How sad is that? On the otherhand, with so much to do and finish, I was pretty focused.


So, on to the Grungy Monday Technique Challenge, Linda at Studio L3 has set us to another of Tim Holtz's wonderful 12 Days of Christmas Tags from 2007, day 10. This technique is also in his wonderful book, the Compendium of Curiosities, under Shabby Chic. I hadn't gotten a stash of grungeboard when we had done this the first time, so was using a piece from the Elements set, and was sorta afraid to experiment. In the 12 Tags example, Tim used a tag, and also suggested using black card stock instead of the black paint...Brilliant! This worked out so much better for me! My black cardstock seems to be double thick too, made it that much sturdier.


After embossing the images from Tim Holtz's set, I used Lemonade, Lettuce and Stream Adirondack Dabbers. Totally waited for it to dry (see- I learn from past mistakes! LOL) and rubbed away--very nice, except I lost a lot of the lemonade, the green sorta took over. I then went to stamp a saying over the top. OK, raise your hands...who knew you couldn't get a crisp image over the paint? Re-dabbed and tried twice! finally went with the ticket to cover the mess underneath. And yes, it's official, my bottle of Rock Candy Stickles, even though 1/3 full, is completely out of the stickle stuff--only glue is left. Oh, and I used some Black Soot Distress Stickles on the tag. Neither of which is clearly seen in the photo. But this was pretty fun, and sparked my creation for the Play Date Cafe challenge, which you can see in my previous post.

So, now go over to Linda's and check out the details, then jump on in. There is still plenty of time! Have a great week everyone!

PDC #83


Over at the Play Date Cafe, we are saying good bye to senior designer Sarah Anderson. While I'm fairly new to joining in at the Cafe, I have always found her designs very inspiring. Good luck on this new leg of your journey, Sarah!


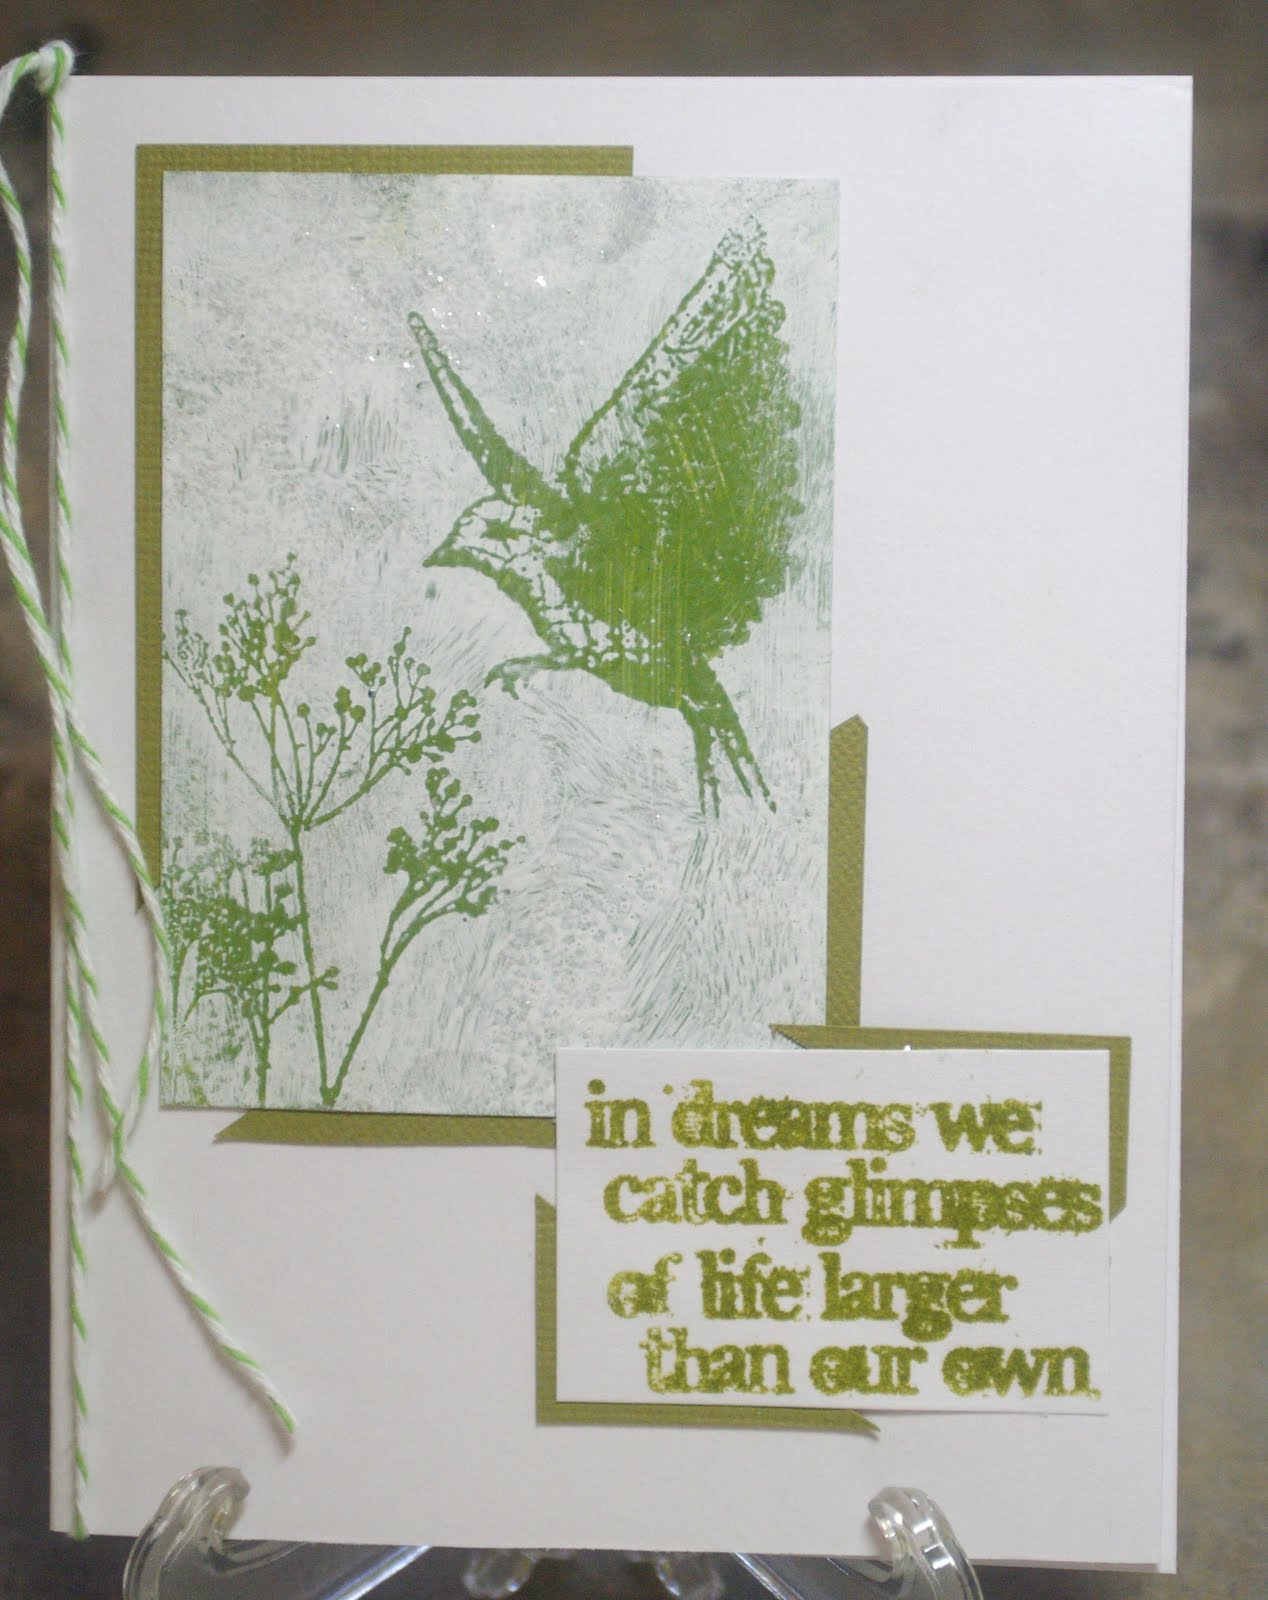
So for this challenge, they have chosen her favorite, the Color Splash, which is black and white, with a splash of green. Unfortunately, mine is not the best representation of this...such plans for a 3 day weekend! Ended up with barely 3 hours of craft time! Thank heavens it finally stopped raining so I could boot my husband out to play golf! LOL! So with everything else that had to get done, graduation, B-days, etc., I just couldn't come up with anything appropriate...I know..weird. So, moving on the the Grungy Monday project at Studio L3, we were playing with the Shabby Chic technique by Tim Holtz. Pretty cool technique! So, while playing with that, I thought, what about green as the background color? Of course you're never really sure what will come through the top color, and the bird was much too green, but at that point, DH would be home soon, and I would need to see about dinner.


So, here it is. The background paint was the Adirondack Dabbers in lettuce, and the text was Adirondack Ink in lettuce; not that they totally match. The overcoat was Snow Cap Adirondack Dabber, with some Picket Fence Distress Stickles smooched over it all. I hope it is acceptable, as this is hardly as "splash" of green, and there is no black at all. And, now that it's uploaded on my work monitor, boy, the greens are so not matching! They are much closer in person--ah well. To really see what "Splash of Color" is all about, head over to the Play Date Cafe and check out everyone else's great works! Have a great week everyone.

Thursday, May 26, 2011

Grungy Monday--so good to me....(hmmm, hummm)


Don't ask..the music in my head has taken over today--The Mama's and the Papa's..good stuff!


So, to my other art medium....Lovely Linda at Sudio L3 has set us with one of my most fave, go-to techniques EVER! Tim Holtz's September Technique Challenge-2008. Really! Click on the link and check it out!


However, in keeping with my decision to work in my 7 gypsies ATC tray format...complications arose. You can check my previous post on WOYWW to see the fall-out! LOL! Either it was the small size, and wanting to use stamps that where too big, or the use of the white space, or lack there of on the ATC size--either way, not thrilled with the end result. The stamps are--I swear, though they are not on the website, from the Stampsmith. And I seemed incapable of shooting a straight picture! LOL!


So , a quick peek at my tray to date--and then go check out Tim's technique--there is still time! Have a great crafty week everyone!

WOYWW #103 Whirlwind


What a disaster! This is the quick snap as I was getting ready to turn out the light...remnants of my Grungy Monday Massacre! I think I see four failed attempts...not the technique--love that...you can check it out at Tim Holtz' site here. No, I think my problem was 1)working on the ATC size to fit my 7 Gypsies tray and 2) after so much grunge, I'm not handling the "white" space well. Either way, it left a path of destruction! Now, as I'm about to post, I'm very carefully double-checking...no, not a peak of the PIF present for next week's 2nd Anniversary! Whew! So, hop over to Julias at the Stamping Ground and check out everyone else's great work spaces. Have a great crafty week everyone!

Monday, May 23, 2011

PDC #82--Challenge 4: Birds 1


Wow...I feel like I haven't been able to have a play date in months! Luckily, not only did I have time this week, I also so loved the colors! My muse was all but doing the happy dance! Ideas were jumping out at me since Thursday. Ahh, but the actual assembliage...now that was a bit tricky!


Since the goldfinch are back on the hill, I went with the yellow bird idea. The bird and cage are from Tim Holt'z Caged Bird die. Bird 1: tried embossing with a music texture plate. Image too big for little bird...didn't make any sense. Bird 2: Used the retro circles texture fade from Tim Holtz. Embossed too deeply, bird decapitated. Bird 3: Less embossing (no tabs, no bottom plate, folded paper instead) looked good, then got carried away with Frayed Burlap, now looks like a house sparrow. Bird 4...finally made it to the cage (meanwhile surrounded by kitties, thinking they were eventually going to get lucky with real thing).

The Background was made using the Wrinkless Distress technique from Tim's book, with Antique Linen, Frayed burlap and Walnut Stain. I wrote the maker of the stamp down, and then left it home...ask if you need it! Same with the saying...where is my memory!!! And there you have it! Now hop over to the Play Date Cafe and see what everyone else is brewing! Have a crafty week everyone!

Friday, May 20, 2011

Grungy Blocky Goodness--#7


This week over at Studio L3, Linda has set our mission to discover color-blocking, a la Tim Style, with a Ranger Video made during CHA. Now, while I have known about this technique, for some really stupid reason, I just never made the connection to do it with the applicator sponges and distress inks!!?? How easy, fun and quick is this!! Since my 7 Gypsies tray is starting to look a tad monochomastic, my goal this week was to add some color (even before I knew what we'd be doing.)


So, using Scattered Straw, Victorian Velvet, Milled Lavender and edging with Dusty Concord, I blocked in my background. I don't use the actual applicator...they don't stay stuck for long when you swap out, and I just would get too annoyed with 36 of those buggers lying around on my desk! I instead cut up the cut and dry foam as needed, in what ever size I feel like at the time. My fingers are quite capable of holding the foam smooth and steady in place of an applicator. I use one foam per color group, and right now they all fit in one of the little drawers in my desk caddy. I thought it looked quite fabulous!


So, then, my brain starts going with ideas to finish...and butterflies, (the die I said I'd stop using for a bit) came to mind. First I stamped a butterfly background in Dusty concord. I can not remember who made it, all my notes said is "envelope lady @ Springfield show". I probably should have used milled lavendar, as it became a tad dark. This made the paper choice for the butterfly tricky...finally chose a Bazzil light purple metallic. I wanted some gold, so ended up stippling some gold AI additive---thought the paper would behave more like glossy--ah well. threw in some tiny...really tiny...microscopic...black pearls for a bit of dimension.


Still wanting more gold, I used a Magenta border and corner stamp with gold EP, then stamped the saying (can't remember this either) on purple, and Ta dah! Not to bad, considering I wasn't sure I'd even get to play this week! The butterfly is raised up on thick tape, but this photo isn't showing that well. And as for the main mission--to add color to my tray...lets just say next week I'm aiming for hot pink, shocking orange or bright yellow! LOL!

So, now go over to see the fabulous work of Linda, her guest designers and the rest of the Grungy Monday gang! Check out Tim's video, then jump in..there is still time!